Podcast
Questions and Answers
What is the fundamental deviation for the tolerance of ‘f’ at a diameter of 25 mm?
What is the fundamental deviation for the tolerance of ‘f’ at a diameter of 25 mm?
For a GO and NO-GO gauge designed for assembly 20H7/f8, what is the wear allowance if the gauge tolerance is set to 10%?
For a GO and NO-GO gauge designed for assembly 20H7/f8, what is the wear allowance if the gauge tolerance is set to 10%?
What is the lead screw pitch of the lathe used for cutting left-hand threads of 5 TPI?
What is the lead screw pitch of the lathe used for cutting left-hand threads of 5 TPI?
What is the maximum depth of cut for the mild steel bar during the turning operation?
What is the maximum depth of cut for the mild steel bar during the turning operation?
Signup and view all the answers
What is the cutting speed for a workpiece that requires a time calculation for a piece 350 mm long and 50 mm in diameter?
What is the cutting speed for a workpiece that requires a time calculation for a piece 350 mm long and 50 mm in diameter?
Signup and view all the answers
Study Notes
Limit, Fits and Tolerances
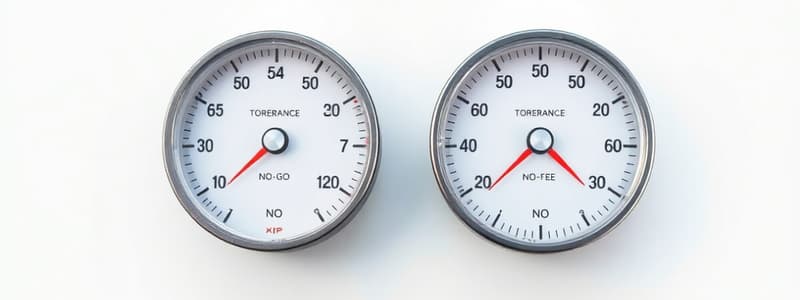
- GO and NO-GO gauges are designed to check holes and shafts in assemblies, ensuring proper fitting.
- Gauge tolerances can be set at 10% with a wear allowance equal to one fifth of the gauge tolerance.
- Fundamental deviation for 'f' is calculated as -5.5 D^0.41.
- For assembly tolerances, the relevant Interchangeable Tolerance grades are IT7 and IT8, with IT7=16i and IT8=25i.
- Diameter steps for calculations are taken from ranges such as 18 mm to 30 mm.
- Specific assembly diameters of 25 mm, 20 mm, and 30 mm provide reference for gauge design.
Lathe Operations
- Change gears are essential for cutting various thread pitches, affecting thread types like left-hand (L.H.) and right-hand (R.H.) threads.
- It's crucial to determine gear arrangements for specific threads based on lead screw pitch (e.g. 6 mm and 8 mm).
- Cutting threads at different pitches (e.g., 5 TPI, 0.25″ pitch) requires careful computation of gear ratios.
- Sketching gear arrangements aids in visualizing and executing threading operations without feed reversing mechanisms.
Machining Time Calculations
- Calculating machining time involves material properties, piece dimensions, rotation speed, and feed rates.
- A mild steel bar turning operation from 50 mm to 45 mm diameter at 200 RPM with a feed of 0.1 mm/rev includes additional approach and over-travel distances.
- For a 350 mm long and 50 mm diameter workpiece, cutting speed and feed should be factored in to estimate time for complete cuts.
- The complexity of machining operations and the required precision can significantly influence total machining time.
Studying That Suits You
Use AI to generate personalized quizzes and flashcards to suit your learning preferences.
Related Documents
Description
This quiz explores the concepts of limits, fits, and tolerances in engineering design. Participants will design GO and NO-GO gauges for various assemblies, taking into account tolerances and deviations. A thorough understanding of dimensional inspection is essential for successful completion.


