Podcast
Questions and Answers
What is the initial position of the dough piece when forming an oval loaf?
What is the initial position of the dough piece when forming an oval loaf?
- Seam side down on a floured work surface
- Seam side up on a floured work surface
- Seam side down on a lightly floured surface
- Seam side up on a lightly floured surface (correct)
What is done to the dough after it is placed on a lightly floured surface?
What is done to the dough after it is placed on a lightly floured surface?
- Excess gas is gently patted out (correct)
- The dough is stretched to its full length
- The dough is rotated 90 degrees
- The dough is folded in half
What is the purpose of folding one-third of the dough toward you?
What is the purpose of folding one-third of the dough toward you?
- To create a tight piece of dough with solid density (correct)
- To create a hole in the center of the dough
- To create a lumpy seam
- To remove excess gas
What happens if insufficient hand pressure is applied during shaping?
What happens if insufficient hand pressure is applied during shaping?
What is the result of applying too much pressure during shaping?
What is the result of applying too much pressure during shaping?
What is the purpose of folding and pressing the dough down its length?
What is the purpose of folding and pressing the dough down its length?
What should be avoided when using the heel of your right hand to press the folded flap of dough?
What should be avoided when using the heel of your right hand to press the folded flap of dough?
What is the final result of properly forming an oval loaf?
What is the final result of properly forming an oval loaf?
What should be present at the base of the dough after the first phase of shaping?
What should be present at the base of the dough after the first phase of shaping?
When repeating the folding and pressing motions, what should be done with the seam?
When repeating the folding and pressing motions, what should be done with the seam?
What should be the shape of the palms of your hands when rolling the dough?
What should be the shape of the palms of your hands when rolling the dough?
What should be the objective of the final shaping?
What should be the objective of the final shaping?
Why should you dust your hands with flour during the final shaping?
Why should you dust your hands with flour during the final shaping?
What should be the condition of the work surface during the final shaping?
What should be the condition of the work surface during the final shaping?
What should you do if the dough starts to stick to the work surface?
What should you do if the dough starts to stick to the work surface?
What is the importance of keeping your hands dry during the final shaping?
What is the importance of keeping your hands dry during the final shaping?
Flashcards are hidden until you start studying
Study Notes
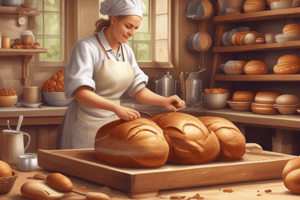
Forming an Oval Loaf
- Begin with a scaled and preshaped dough piece that has rested
- Lift the dough from the work surface, seam side up, onto a lightly floured surface
- Pat out excess gas with fingers and palm of one hand
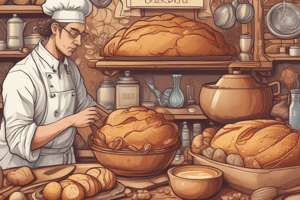
Shaping the Dough
- Fold one-third of the dough toward you, and pat out the air
- Bring the 2 squared-off corners at the farthest part of the dough in toward the center and pat out the air
- Repeat the process on the other side of the dough
- This should result in a tight piece of dough with a solid density
Sealing the Dough
- Fold and press the dough down its length, starting from the right side (for right-handed people)
- Use the heel of your right hand to press the folded flap of dough, keeping it flat to avoid a lumpy seam
- Continue the folding and pressing motion until the entire length of the dough is covered
Final Shaping
- Turn the dough piece around 180 degrees and repeat the folding and pressing motions
- Take the fold all the way to the work surface, making the seam tight and reasonably straight
- Turn the loaf over, with the seam underneath, and place hands on top of the loaf
- Gently curve hands to shape the loaf, rolling it back and forth with firm softness
- Repeat the motion to streamline the shape and fine-tune the length, as needed
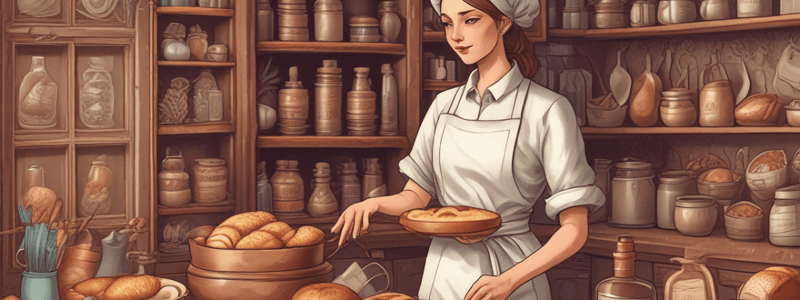
Key Tips
- Keep hands dry to prevent the dough from sticking
- Dust hands with a minimum of flour if necessary
- Ensure the work surface is dry, and dust it lightly with flour if the dough shows signs of sticking
Studying That Suits You
Use AI to generate personalized quizzes and flashcards to suit your learning preferences.