Podcast
Questions and Answers
What is the maximum spacing allowed between fastenings for the ceiling track?
What is the maximum spacing allowed between fastenings for the ceiling track?
- 24 inches on centers (correct)
- 18 inches on centers
- 12 inches on centers
- 36 inches on centers
What should be the center-to-center spacing of studs except where local building standards specify otherwise?
What should be the center-to-center spacing of studs except where local building standards specify otherwise?
- 12 inches
- 18 inches
- 24 inches (correct)
- 16 inches
What action should be taken when fastening track to the floor or ceiling?
What action should be taken when fastening track to the floor or ceiling?
- Wear protective eye covering (correct)
- Wear gloves only
- Skip any safety measures
- Use hand tools exclusively
How much longer should headers be cut compared to the width of the opening?
How much longer should headers be cut compared to the width of the opening?
What is the main purpose of ensuring that wallboard joints are centered on stud flanges?
What is the main purpose of ensuring that wallboard joints are centered on stud flanges?
What is a safety risk associated with handling track and sharp metal parts?
What is a safety risk associated with handling track and sharp metal parts?
What should be done with electrical conduit, wires, and plumbing systems once installed?
What should be done with electrical conduit, wires, and plumbing systems once installed?
What cutting measurements are necessary for headers when installing framing for doors and windows?
What cutting measurements are necessary for headers when installing framing for doors and windows?
Flashcards
Installing Ceiling Track
Installing Ceiling Track
Install ceiling track directly above the floor track using a plumb bob and snap line. Ensure accurate markings and fasten the track with a maximum spacing of 24 inches.
Stud Spacing
Stud Spacing
Plan the layout for 24-inch center-to-center spacing for studs, adjusting to local building standards if they require 16-inch spacing.
Track Fastening
Track Fastening
Fasten the track to the floor or ceiling using tools like concrete nails or powder-actuated tools, always wearing protective eye covering and adhering to safety regulations.
Installing Studs
Installing Studs
Signup and view all the flashcards
Headers, Cripples, and Studs
Headers, Cripples, and Studs
Signup and view all the flashcards
Gypsum Wallboard Application
Gypsum Wallboard Application
Signup and view all the flashcards
Wallboard Joint Placement
Wallboard Joint Placement
Signup and view all the flashcards
Track Fastening Safety
Track Fastening Safety
Signup and view all the flashcards
Study Notes
Safety Note - Handling Track
- Sharp metal track edges pose a serious injury hazard
- Treated as a potential site of infection
- Incorrectly grounded electrical tools can cause severe shock
- Loss of balance and falls from ladders or scaffolding are common accidents in drywall construction
Installing Ceiling Track
- Install ceiling track exactly above existing floor track
- Use plumb bob and snap line to ensure accuracy
- Space fasteners no more than 24 inches apart, unless local building standards require 16 inches
- Mark floor or track for stud positions before erecting backing studs
Installing Studs
- Install studs vertically on 24-inch centers
- Studs are held in place by track flanges
- Fasten studs using spot welding, crimping, or sheet-metal screws at required intervals
- Position studs for doors, windows, and partition corners
- Backing studs should be placed at inside corners of partitions
Headers and Cripple Studs
- Headers are cut to desired length, 8 inches longer than opening width
- Track flanges are cut 4 inches in from each end, bent at 90°
- Position header between door bucks, enclosing studs on sides
- Cripple studs are located along wallboard joints
- Fasten using drywall screws
Splicing Studs
- Metal studs can be spliced when necessary
- Lap portions are fastened using four drywall screws
- Door bucks, window wells, and headers have web side facing opening
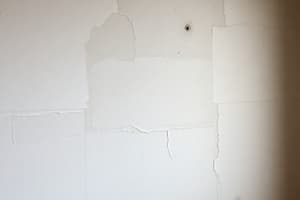
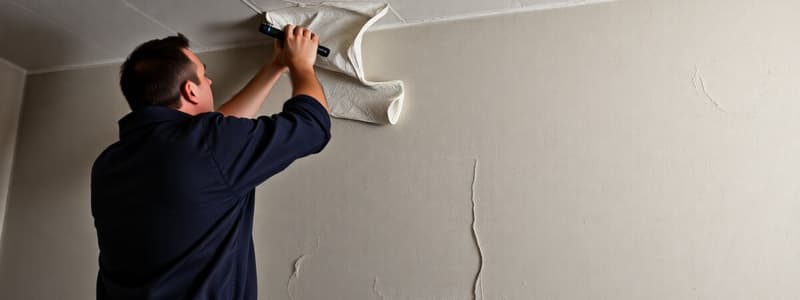
Wallboard Application
- Apply gypsum wallboard horizontally in most cases
- Ensure all edges and end joints are located in the center of stud flanges
- Limit end joints to reduce their overall number
- Install outlets and services prior to wallboard erection
Studying That Suits You
Use AI to generate personalized quizzes and flashcards to suit your learning preferences.